How to use smaller pads while maintaining annular ring requirements.
Question: I don’t understand why my etch pads are not big enough for my vias. I thought I allowed plenty of room for annular ring. Why is that?
As designs get more compressed, conductors, spaces and pads continue their march to be smaller and smaller. Designers are left trying to squeeze pad sizes in order to route traces within BGAs or other tight component packages.
There is often confusion related to drawing requirements for drilled holes and the sizes manufacturers actually drill to achieve the drawing requirements. Let’s clear that up and talk about strategies to gain as much room as possible, while maintaining adequate annular ring.
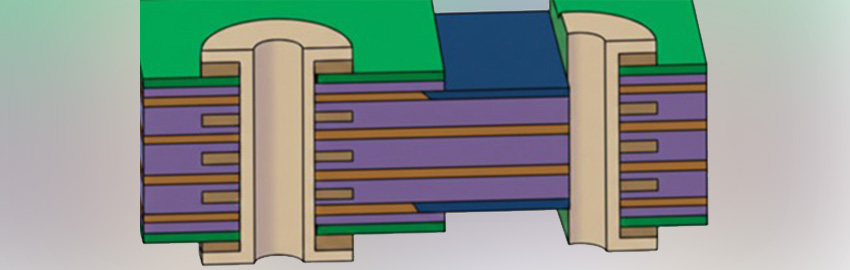
First, let’s not forget fillets at the via-to-trace transition. This is absolutely required, especially if Class 2 annular ring is called out. It provides a level of insurance against breakout at the via-to-pad transition, which could lead to an open circuit. It is also good design practice, as it improves etch quality and provides mechanical strain relief, reducing potential for cracking.
So what’s the deal with drilled holes? We will concentrate here on mechanically drilled holes, not laser microvias. (That is a topic for another day.) When a drawing calls out a hole size, it will usually have a tolerance, such as 0.010"+/-0.003". When this happens, the PCB manufacturer must select a drill size that compensates for all processing so the finished hole will meet the drawing requirement. The manufacturer will aim for the center of the drawing window, so in the case of 0.010"+/-0.003" they will try to finish at 0.010" or slightly above that. If the tolerance is not centered on the nominal hole – e.g., 0.010"+0.002"/-0.004" – they will aim for the middle of the range, in this case 0.009".
To make this work, they will add allowances for copper plating and final finish to the finished size. Typically, they will drill about 0.002" to 0.003" above the maximum allowable finished hole size. In the case of our example, they will drill at 0.015".
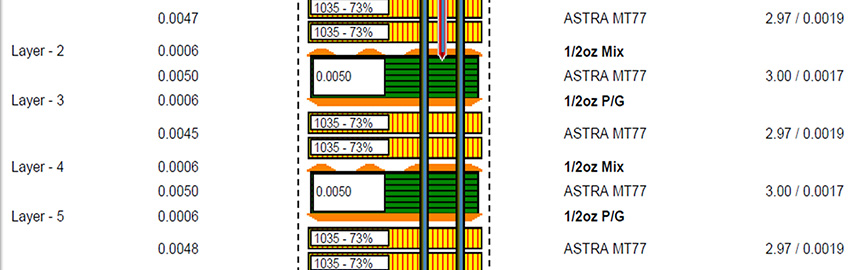
This eats into the annular ring, especially for the internal layers. Say you designed a 10 mil pad and coupled that with a 20 mil pad, and thought you had plenty of room. However, the internal layers are now down to 2.5 mils of annular ring at design. Making IPC minimums for internal annular ring on the finished product will be unlikely.
Thus, when sizing your pads, here are some rules of thumb:
- Pad diameter should be about 0.016" larger than the drilled size, 0.021" larger than the finished size. This will ensure Class 3 annular ring.
- Those numbers can be reduced by 0.002" for Class 2 requirements.
In some cases, these numbers can be reduced, depending on the specifics of your stackup: materials, layer count and copper thickness. Flex and rigid-flex designs may not permit tighter hole-to-pad ratios, as the flex materials are not as dimensionally stable as rigid materials. Extra allowances need to be made to account for the mismatch of materials within a rigid-flex design.
Also, if the board is sequentially laminated, then 0.002" probably needs to be added per additional lamination cycle. This is to account for potential misregistration at each lamination. The more via structures in the same board, the more allowances will be required. In some cases, adding another via structure may actually cause more trouble in one area than the issue you were trying to solve.
A good example is the outer layers if there are blind vias, buried vias and through-holes all terminating at an external layer. When this happens, the manufacturer is challenged with three different drill operations performed at different times on different pieces of equipment. When they get to imaging the outer layers, they need to decide which via structure to select for their alignment strategy. They will select the one with the least annular ring allowance, and hope the others will sufficiently align. This is where additional pad diameter or reduced drill size can aid making everything work.
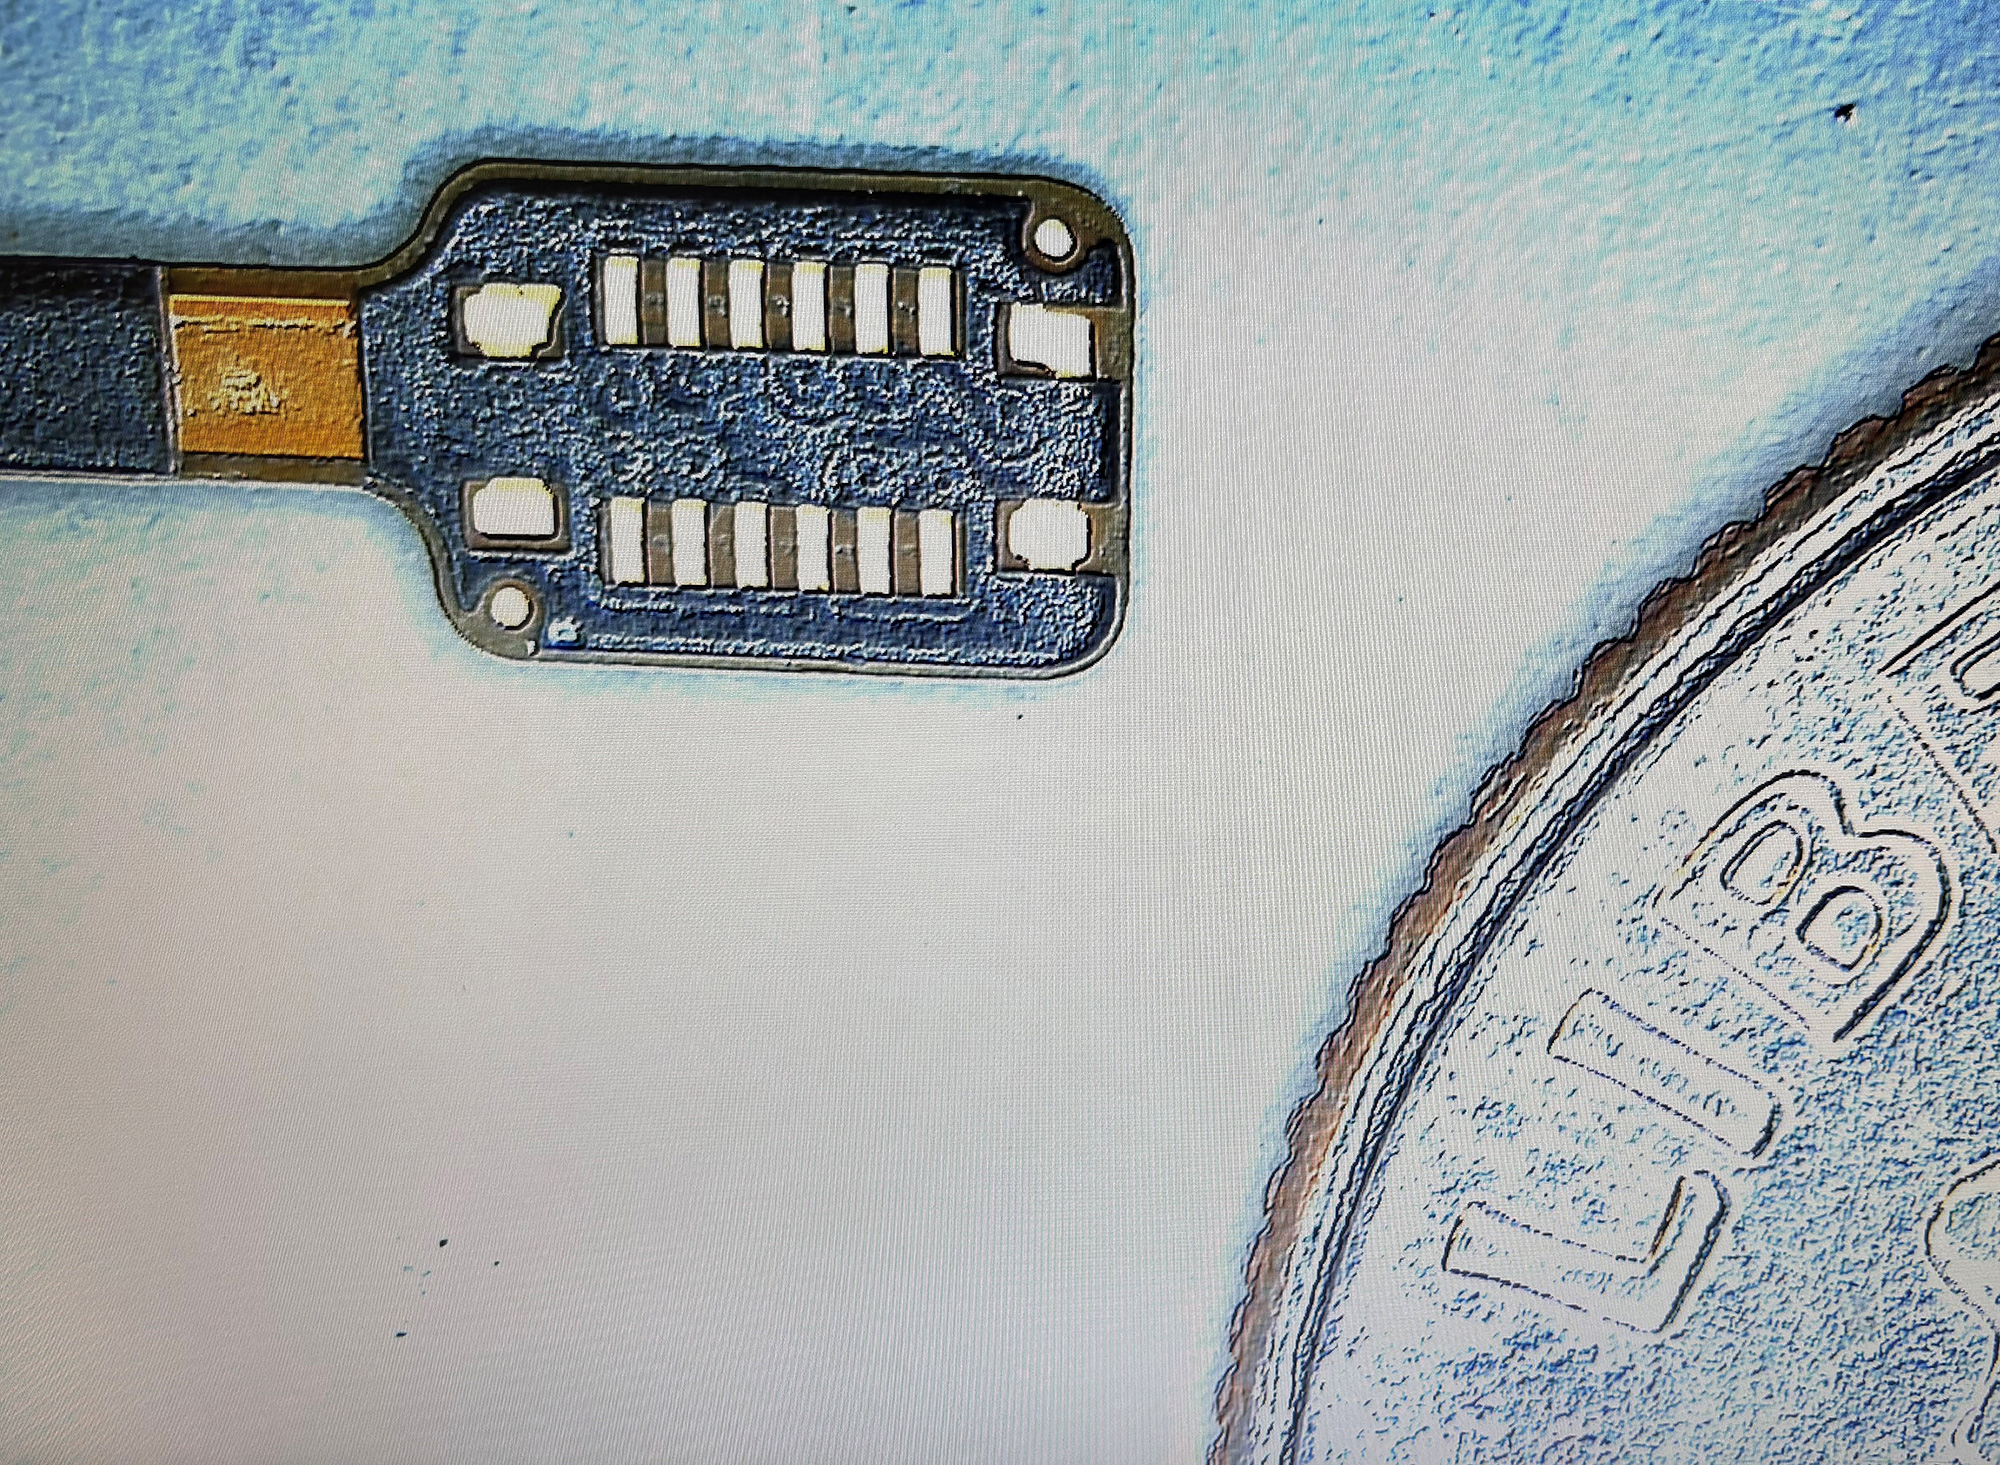
One of the areas where this issue really seems to bite designers is at the small vias, not at the holes that are sized for components like connectors or the increasingly rare through-hole mounted part. Another trick up the designer’s sleeve growing in popularity: to tolerance vias differently from the rest of the holes on a part.
Using our example, rather than specifying the vias as 0.010"+/-0.003", specify them as 0.010" +0.003"/-0.010". No, this does not allow the manufacturer to skip drilling altogether! With this information, the manufacturer can drill at 0.010" and let copper plating and final finish reduce the hole from there. This allows use of smaller pads, leaving more room to route traces while maintaining annular ring. It has the side benefit of eliminating an inspection of the small vias for minimum hole size, a non-value-added operation.
In summary:
- Permit vias to have no minimum finished hole size.
- Reduce their diameter where possible.
- Rationalize the number of via structures used.
- Consider Class 2 annular ring (with fillets) when there’s no room for anything more.
If you keep in mind how your manufacturer will drill the boards, you can design vias and pads to permit sufficient annular ring.
Nick Koop is senior field applications engineer at TTM Technologies (ttm.com), vice chairman of the IPC Flexible Circuits Committee and co-chair of the IPC-6013 Qualification and Performance Specification for Flexible Printed Boards Subcommittee; This email address is being protected from spambots. You need JavaScript enabled to view it..